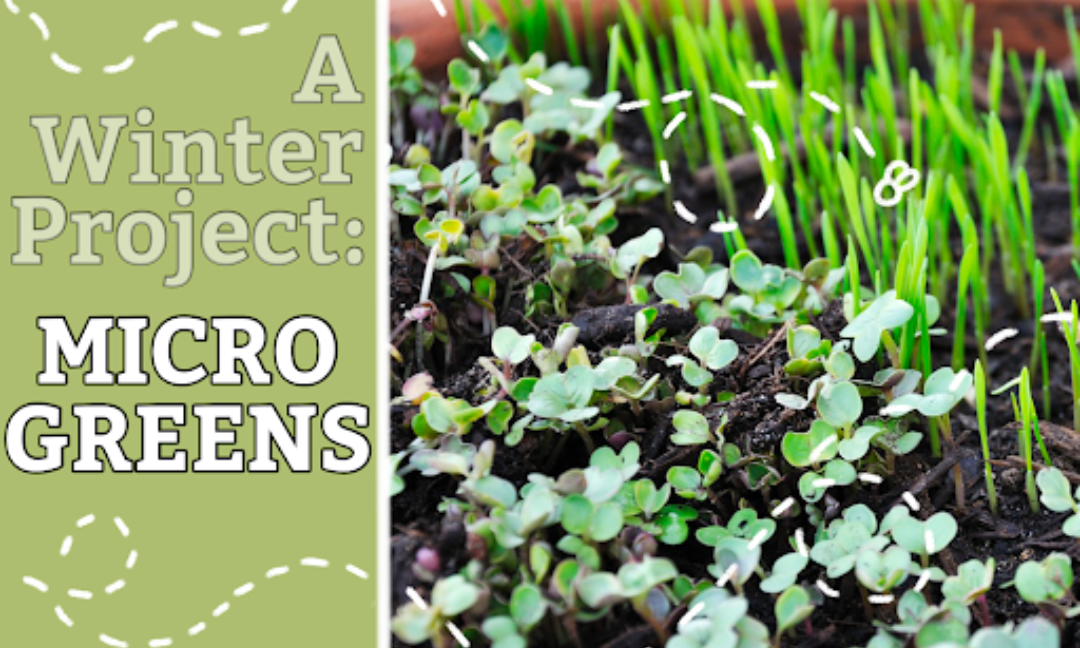
A Winter Project: Growing Microgreens Indoors
Written By: Ayeh Darissavi
Edited By: Emily C
Designed By: Ayeh Darissavi
Published By: Samantha Porte
Microgreens are among the most popular superfoods to hit the market, but they’re no fad. With high levels of antioxidants, a low price point, easy growth, and various uses, these compact snacks can (and hopefully will) have a seriously positive impact on your diet and lifestyle. Although warmer weather may be around the corner, microgreens are still best grown indoors as they can be susceptible to physical damage, bacteria, and bugs. Fortunately, microgreens can grow effortlessly and sustainably inside your home all-year round. So luckily, for once, Ontario weather can’t stop you!
What are Microgreens?
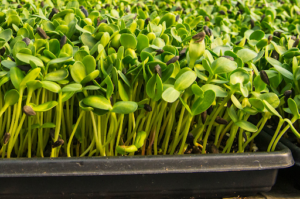
Microgreens fall somewhere between a sprout and a young green. They are often harvested 2 to 3 weeks after the first planting and are characterized by their short stature in combination with “true leaves”, in contrast to their early cotyledons. Cotyledons are small oval-like leaves at the top of the stem, still attached to the seed, that form before “true leaves”, which look like small adult leaves, emerge from them.
Once the true leaves have emerged, the microgreens, usually standing at two inches tall, are ready to be harvested!
Why Microgreens?
Microgreens have an abundance of possible health benefits if eaten regularly. According to an article published in the Journal of Agricultural and Food Chemistry, the microgreens of red cabbage, cilantro, garnet amaranth, and green daikon radish seeds had the highest abundance of ascorbic acids (vitamin C), phylloquinone (vitamin K1), carotenoids, and tocopherols (vitamin E group). Of course, benefits such as lowering inflammation and cholesterol, helping to decrease the risk of cancer and cardiovascular issues, and supporting gut health are too good to pass up! In fact, according to the USDA National Nutrient Database, the cotyledons of microgreens contain higher nutritional densities than the leaves of their fully grown counterparts. However, be sure to research which vitamins are contained within your microgreen of choice; some vitamin groups are fat-soluble, meaning you might have to add a healthy serving of oil or other source of fat before consumption in order to reap the full benefits!
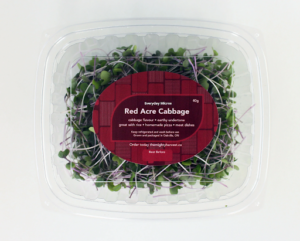
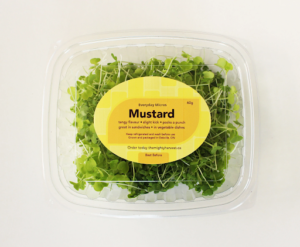
Aside from being a great health boost, microgreens have, surprisingly, various applications in the kitchen. For example, they can be added as a garnish on avocado toast or soup, in an omelette, in a sandwich or salad, atop a pizza, in a stir fry or poke bowl, blended into a smoothie, and more! Microgreens are also perfect for fermented side dishes like kimchi. In addition to this, different microgreens will have different tastes; red mustard microgreens will taste spicier, while kale microgreens will have a sweeter note to them.
How Can I Grow Microgreens?
First things first, choose your seeds. If you’re a beginner in the world of microgreens, chia, mustard, broccoli, cabbage, or cauliflower are great choices as they can be grown in a relatively small container. Using the regular version of these vegetable seeds will work just as well if special microgreens seeds aren’t available to you.
Remember: Different seeds will give you a different tasting microgreen; be sure to pick one that’ll suit your palette!
Second, you’ll want to find a container to put your seeds into. Styrofoam, plastic, and aluminum take-out containers work well for this since you can easily poke drainage holes in the bottom to release excess moisture. Keep in mind that sustainability is about using what you already have, so don’t be tempted to purchase a new container for your microgreens plants if it isn’t necessary.
One thing you may want to invest in is soilless potting mix. Sometimes, regular soil can cause soil borne illnesses which do have a chance of making you sick, especially if you use it indoors. Though, the chances of getting sick are very low, if you’re still worried, paper towels are a good growing medium alternative to use if you don’t have access to or aren’t comfortable using regular fertile soil.
Let’s start the dirty work:
- First, if you’re using soil or soilless potting mix, be sure to poke enough holes in the bottom of your desired container with a fork, toothpick, or knife to allow for your microgreens to grow without the risk of mold from excess moisture.
- Next, lay down a shallow, one inch layer of your growing medium of choice and pat it down gently.
- After this, liberally sprinkle enough of your seeds of choice to somewhat cover your medium; be sure to not overdo it with the seeds, 3-5 tablespoons should be enough depending on the size of your container.
- Then, cover your seed layer with another layer of growing medium and gently pat it down.
- Also, mist your mini-garden with a spray bottle full of water. Be sure to mist twice each day to keep the growing medium moist, and keep your container on a south facing windowsill for maximum sunlight.
- Finally, wait. Depending on the conditions and what seeds you’ve used, this may take up to three weeks, so be patient and mist consistently!
- Once your microgreens are done growing, it’s time to harvest. This can be done by simply cutting them with scissors right above the soil.
Tip: Looking up a picture of your microgreens online will give you an idea of when you can harvest your yield.
If you’re using paper towels, follow the same steps, but do not cover your seeds with paper towels. A moist double layer of paper towels and a sprinkle of seeds will suffice!
Whatever the method, microgreens will prove to be worth it no matter what you choose to use them for! Happy gardening!
Sources
- https://pubs.acs.org/doi/full/10.1021/jf300459b
- https://www.healthline.com/health/carotenoids#benefits
- https://www.healthline.com/nutrition/microgreens#different-types
- https://www.webmd.com/diet/what-to-know-about-microgreens
- https://www.gardeners.com/how-to/grow-microgreens/7987.html#:~:text=When%20do%20I%20harvest%3F,just%20above%20the%20soil%20line
- https://microgreensworld.com/what-do-microgreens-taste-like/#:~:text=Each%20microgreens%20vegetable%20has%20its,earthy%20(taste%20like%20dirt)
- https://growhotpeppers.com/grow-microgreens-without-soil/
- https://www.johnnyseeds.com/growers-library/vegetables/microgreens/year-round-micro-greens-production.html
- https://herbsathome.co/5-most-flavorful-microgreens-you-need-to-try-today/#:~:text=The%20five%20most%20flavorful%20microgreens,%2C%20garden%20cress%2C%20and%20radish
Images