Seeds are meant to germinate when they're moist and hibernate when they're dry. That's why it's important to dry your seeds after you harvest them.
Open-air drying is the best way because it minimizes risk of damage to the seeds. There are several methods for creating just the right conditions for perfect seed drying, using ordinary household items.
What does it mean for a seed to be "dry"?
When you harvest seeds from your garden they should be fully ripe. Once harvested, they should be cleaned. For some, they'll feel dry already at this point, but no matter the seed type, there is probably some moisture still, meaning drying is key regardless of how the seeds feel to the touch. Placing seeds directly into a jar or bag from harvest will usually result in mold within a few weeks.
What's the best way to dry seeds?
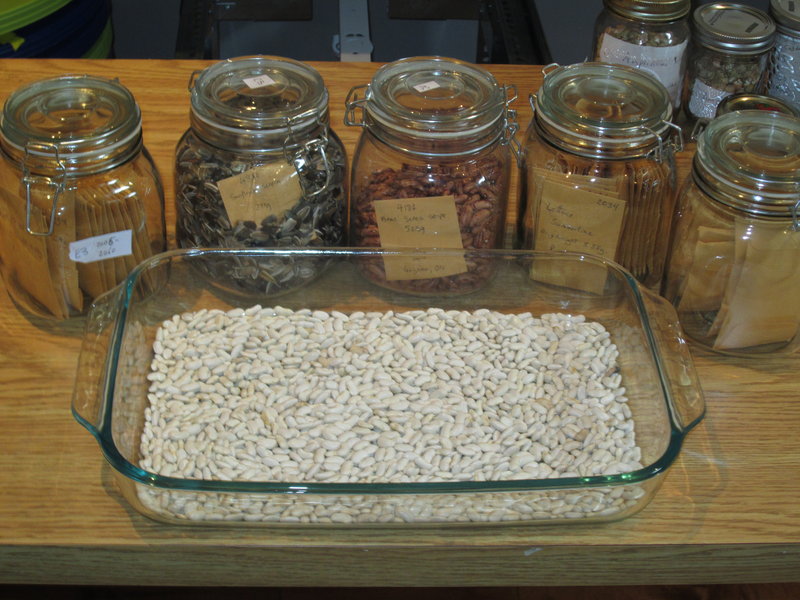
The best way is to spread them out so the air can get at each on, and let them dry naturally in the open. Plates, wide bowls, pie plates, baking sheets, or serving trays are all good, as long as the seeds are spread thinly. You don't want to pile the seeds more than a couple of layers deep because the bottom seeds can't contact air so won't be able to dry quickly enough to avoid mold.
An even better way to get air contact on your seeds is to dry them on a screen because this allows for the air to reach them from the bottom as well. With this method, it's okay to layer them a bit thicker (three or four layers rather than two). There are a wide variety of sieves, strainers, frying baskets, and salad spinners that can be used. Window screens work well too.
If you are drying wet seeds, you should aim for them to be fully dry within three days. Longer than that and you risk them sprouting in your drying tray. This is disastrous for the seeds you can't reverse it and will be forced to either immediately grow out or throw away those seeds that sprout.
Learn more about saving tomato seeds with our three-part series:
No matter what method you use, here are two tips that make the drying process foolproof:
Tip #1
Stir the seeds while they dry.
This helps uncover any seeds that have less air contact, evening out the drying.
This is also the best time to break up clumps of seeds that will inconveniently stick together later. This is a very common thing with tomato seeds, for example. Stir them when they're half dry, and you'll have no clumps later on.
Tip #2
Run an electric fan somewhere in the room.
If the seeds don't dry quickly enough, or if the air is too wet during a rainy week, running a fan in the room will help to counter that.
Even a small amount of air movement can make a huge difference, so don't fret about placing the fan incredibly close to the seeds.
Heat is not necessary, and easily dangerous to the seeds. Some seed savers use dehydrators, or ovens set on a "low" temperature. While this could work without hitch, you run the risk of fatally overdrying your seeds.
Ventilation and air movement are more effective and safer than any form of heat.
Here are a few tests you can try to see if enough moisture has been removed:
THE BEND TEST
For large, flat seeds (e.g. squash), try to bend a seed - if it's flexible, it's not dry enough. A dry seed will break when bent.
THE HAMMER TEST
For large, rounded seeds (e.g. beans, corn), hit a seed with a hammer - if it flattens, it's not dry enough. A dry seed will shatter when hit.
THE RUB TEST
For smaller seeds (e.g. lettuce, tomato, carrot), rub a seed between two pieces of paper - if it leaves a wet spot, it's not dry enough. A dry seeds won't leave any moisture marks on the paper.
TIP: Perform all tests on a number of seeds taken from different areas on your tray or drying rack - not all areas always dry evenly.
Ultimately, count on our dry Canadian winter air to bring your seeds to the right dryness. By November, the air in your home will be naturally dry enough to make your seeds safe for storage.
Until then, keep them in paper bags or envelopes until then.
Learn more about saving seeds, and how to dry each species in our handbook "How to Save Your Own Seeds".
**