
Back to October 2020 Newsletter
How to Save Even More Tomato Seeds
Seed companies have to save thousands of seeds at a time. How do they do that?
In the previous article we show how to clean tomato seeds quickly, but we were careful to save the tomatoes for eating too. If you don't have time, don't have enough freezer space, or your tomatoes are over-ripe anyway, here's the method that the pros use. At least, it's a small version of that method. The only difference is in the size of the container.
|
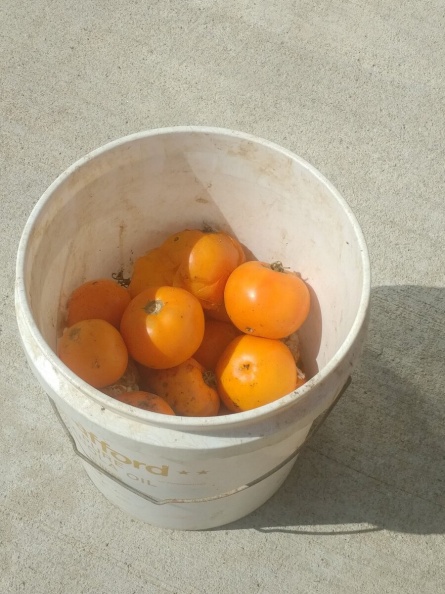
Step 1: Collect your tomatoes in a bucket, taking care that there aren't tomato seeds left from a prevous batch so you don't mix varieties. Be sure to label the bucket if you're processing more than one variety.
|
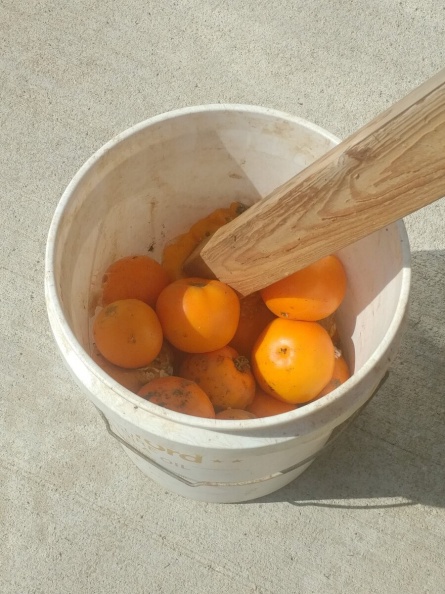
Step 2: Since you aren't keeping the tomatoes to eat this time, include any that are over-ripe, split, or bruised (but never any that show signs of disease). Squash them up with a 2x4. |
|
Step 3: There's no need to add any water. Also, no need to crush the tomatoes fully. As long as they're mostly crushed the pieces will soften up on their own.
|
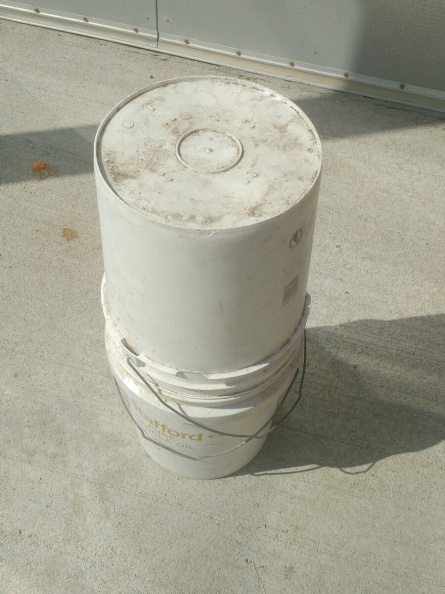
Step 4: Leave the bucket at room temperature or warm outdoors for 3 days. Cover it to keep flies out, and because it will smell bad. |
|
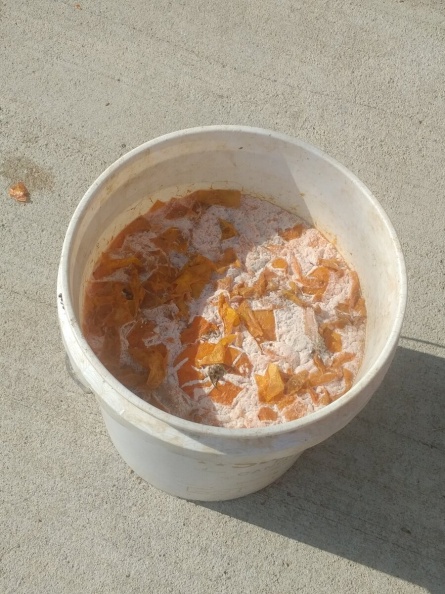
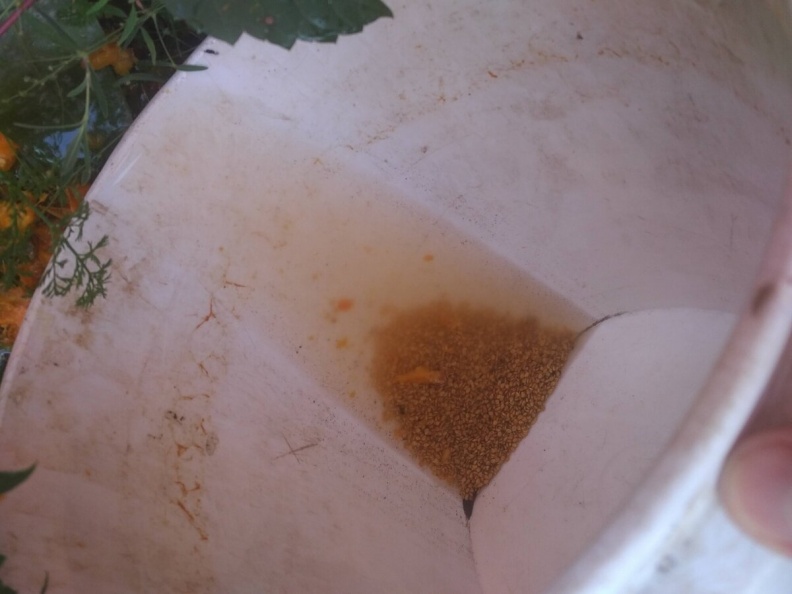
Step 5: When you see the white mould, you know the pulp has rotted well. Take a deep breath and get to work.
|
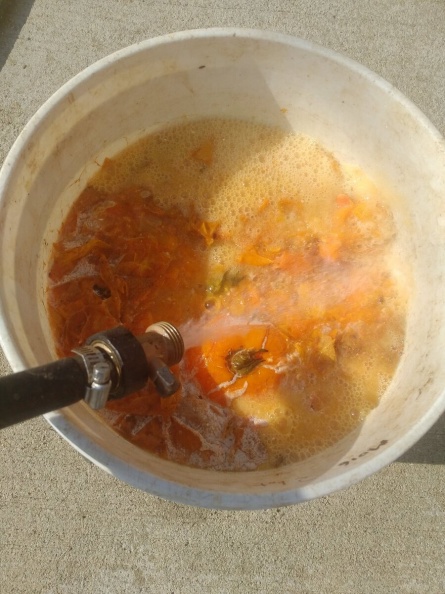
Step 6: Add at least an equal amount of water. You can pour the rotten tomatoes into other buckets to make room for this. |
|
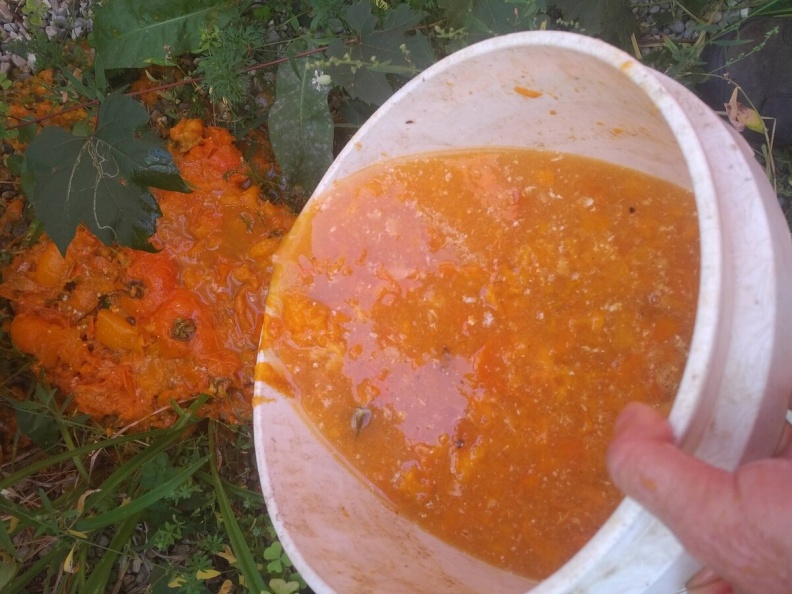
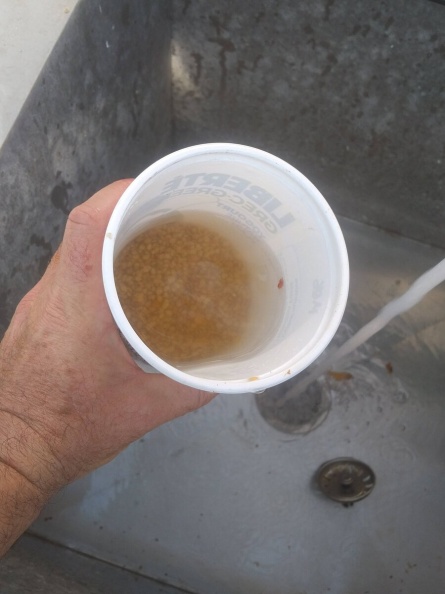
Step 7: Most of the seeds should be at the bottom, and most of the pulp should be at the top. Carefully pour off the floating pulp.
|
Step 8: Don't worry if a few seeds spill out, as long as you can see that most of them are at the bottom. The floaters are often poorly-developed seeds that might not germinate anyway. |
|
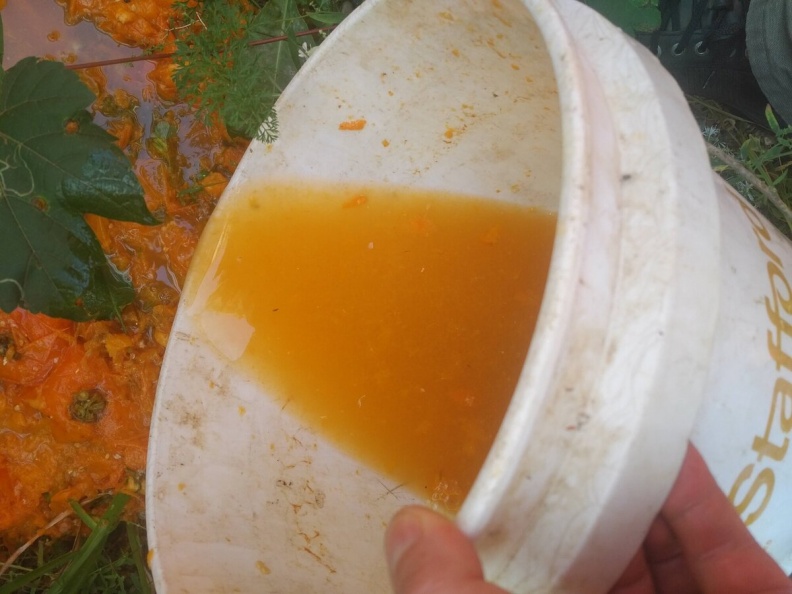
Step 9: Add more water and keep pouring off the floating pulp.
|
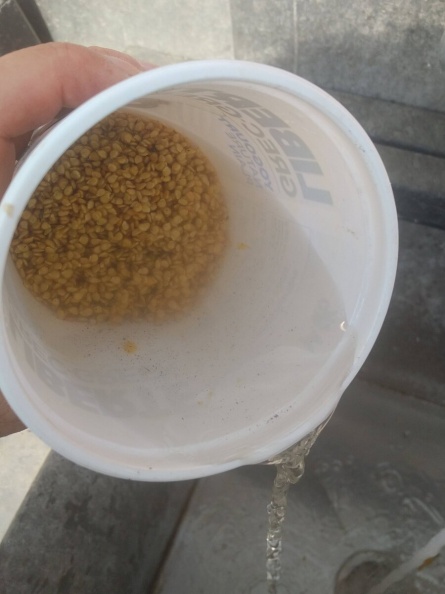
Step 10: After 3 or 4 rinses, most of the pulp should be gone. It's easier to do the final cleaning in a small container.
|
|
Step 11: Keep rinsing until you don't see any more pulp floating. We advise one more rinse for good measure, just to get rid of the tiniest bits that you can't see.
|
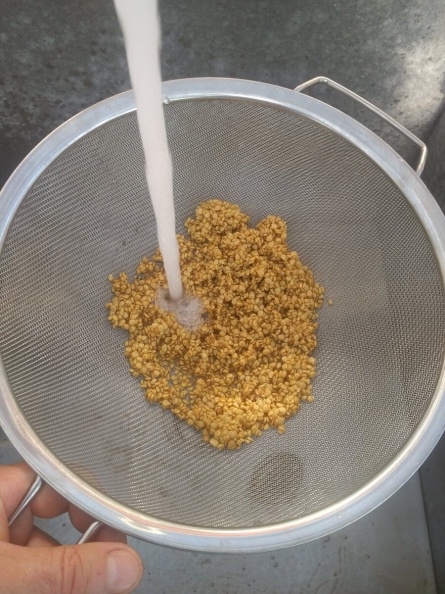
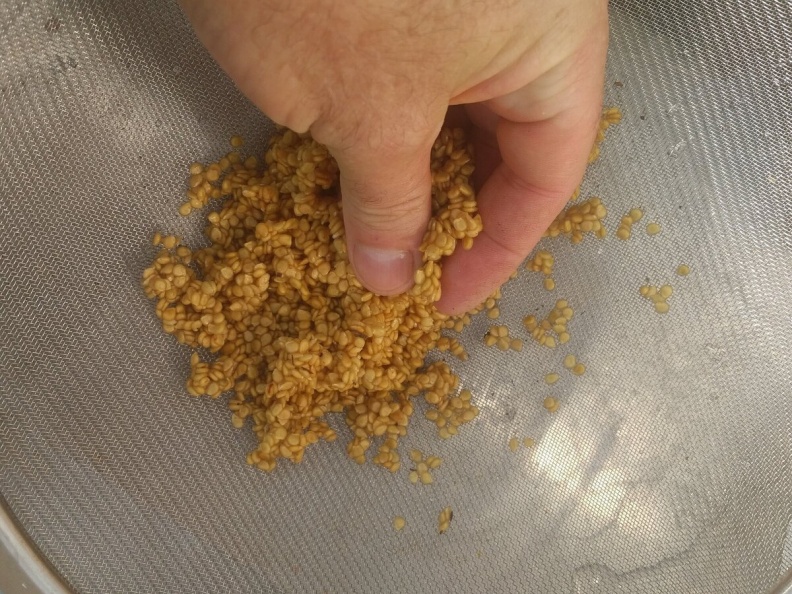
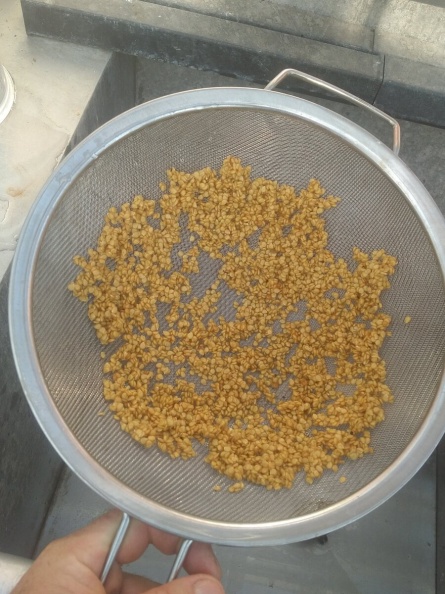
Step 12: Another rinse through a sieve gets the seeds fully clean. Make sure your mesh is small enough first so the seeds don't just go down the drain! |
|
Step 13: You can give the seeds a gentle squeeze to get a lot of the water out. They dry faster.
|
Step 14: Spread the seeds out so they dry in open air, no special heating needed. A sieve is a good place, as long as it isn't rusty because that can discolour the seeds. Most importantly, label the seeds if you have more than one variety drying! |
|
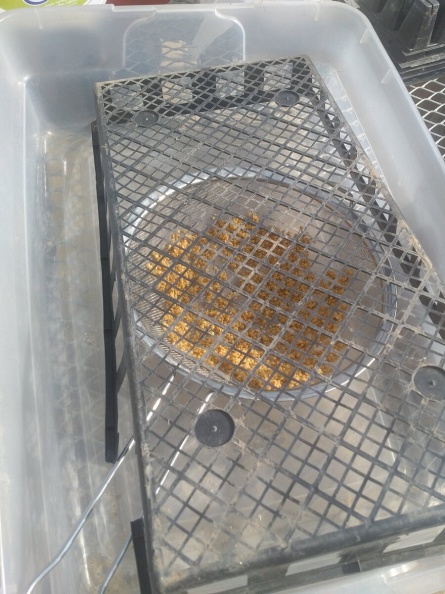
Step 15: A sunny sheltered place is good for drying. But did you know that birds and mice eat tomato seeds? Don't lose yours while they're drying!
|
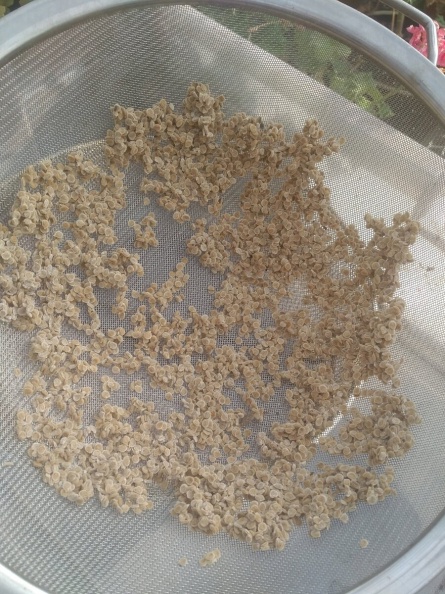
Step 16: In good conditions, the seeds should dry in just a day. If it's wet weather, they might need a light breeze from a fan - put the fan far away and just let the air move slowly or your seeds might blow away. When dry, crumble the clumps of seeds with your fingers to separate them. Even after drying for a few days they still have more moisture than you think, so store them in breatheable containers like paper envelopes, paper or cloth bags. And away from mice. |

Not yet a member?
An annual membership to Seeds of Diversity gives you access to our seed exchange, seed grow-out programs, and our online news.

We depend on donations to do our work.

Thank you for your support!